Uncategorized
Arctic Leopard XE Pro & XE Pro S Assembly Guide
Jul
How to Assemble the Arctic Leopard XE Pro & XE Pro S
What You’ll Need
- Torque wrench, 20–180 in-lb (2–20 N·m)
- Blue medium-strength Loctite
- Zip-ties (x4 supplied, have extras)
- Nitrile gloves / shop towels
- Bike lift stand or sturdy bucket
XE Pro & XE Pro S: Step-by-Step Assembly Instructions
1. Crack the Crate
- Put gloves & eye protection on — the steel bands are sharp!
- Use a chisel or flat-head to pry each staple up, then bend them flat with pliers or kick them out with a hammer or boot.
- Lift the plywood box vertically; keep the empty shell for trash and spare parts.
2. Charge Your Battery During Assembly
- Slice the tape on the small inner carton and lift the 72 V / 55 Ah (3.96 kWh) pack.
- Plug the Arctic Leopard 10 A fan-less charger into the battery first, wall second.
- Indicator: blue = charging, green = full. Let it top off while you wrench.
3. Free the Forks & Goodies
Cut the big bundle of padding that’s zip-tied to the steering head.
INCLUDED ITEMS
| Part | Qty |
| KKE 43 mm USD fork legs | 2 |
| ODI-style number plate | 1 |
| Front fender (TALARIA MX4 pattern) | 1 |
| 20 × 1 – foot-peg set (pegs, springs, pins & cotters) | 2 |
| Handlebar tie-straps (rubber) | 4 |
| Zip-ties | 4 |
| Front axle & 1 wheel-spacer | 1 set |
| Charger | 1 |
| Owner’s manual & axle spanner | 1 |
4. Install Rear Shock Bolt
The bike ships with the rear shock eye floating.
- Snip the two frame straps.
- Tilt the chassis forward; align the upper shock eye to the boss.
- Insert the factory bolt (10 mm hex / 12 mm nut), blue-Loctite, torque to 22 ft-lb.
5. Lift the Frame onto a Stand
Solo technique: bear-hug the downtube, slide the swing-arm over your stand/bucket, then rest the skid plate. The chassis now weighs ~90 lb, so take your time.
6. Fit the Forks & Triple Clamp
- Remove the 5 mm pinch bolts (x3) and top cap; drop the upper clamp.
- Slide each fork leg triangle-point rearward into the lower clamp.
- Grease the upper bearing, then stack seal → washer → upper clamp → top cap.
- Lightly snug the top cap to pre-load bearings (no play, forks still turn).
- Re-tighten lower & upper pinch bolts to 9 ft-lb.
7. Front Wheel & Fender
- Grease the axle; slide the machined shoulder spacer into the right-side seal.
- Lift wheel, align 220 mm rotor between pads, push axle left-to-right.
- Torque axle nut (8 mm Allen / 14 mm) → 35 ft-lb then lower pinch bolts 7 ft-lb.
- One-at-a-time, Loctite rotor bolts and torque to 50 in-lb.
- Install fender with supplied M6×16 screws + Loctite (4 mm Allen, 40 in-lb).
8. Cockpit & Controls
| Component | Torque / Note |
| 31.8 mm bar clamp (3-piece) | Loctite M8 bolts, 12 ft-lb, even front/back gaps |
| Throttle | Ensure instant snap-back, tighten Phillips |
| Brakes (4 mm clamp) | Align levers with extended index finger, 6 ft-lb |
| OLED display | Add rubber grommets; if loose, wrap a turn of electrical tape under mount |
Wiring
Green→green (display) • Red→red & Brown→brown (brake cut-offs) — align arrows, click tight. Tuck slack behind number plate; secure with the four rubber ties.
9. Foot-Pegs & Kick-Stand
- Insert spring square leg into peg, round hook into bracket.
- Pin from below, cotter on top (safer fall-out direction).
- Blue-Loctite shoulder bolts, torque 18 ft-lb.
- Fit kick-stand; adjust magnet switch until dash shows P only when stand is down.
10. Seat, Battery & QS8 Plug
- Remove seat bolt, lift seat; fish throttle/head-light loom through battery bay slot and connect all three plugs.
- Slide charged battery in label forward, latch handle DOWN.
- Lock QS8 connector; pull red plastic latch UP.
- Re-fit twin battery hold-downs, snug M6 lock-nuts (7 ft-lb); reinstall seat.
11. Final Setup
| Task | Spec |
| Tire pressure | 32 psi street / 22–25 psi dirt |
| Chain slack | 1.0–1.2 in vertical midway between sprockets |
| Rear axle | 19 mm nut, 55 ft-lb after chain adjust |
| Brake pad spacers | Remove before first ride |
| Bed brakes | 10 × 20 → 5 mph stops, cooling between |
12. Power-On & Controls
- M button 2 sec → passcode screen. Enter four zeros or your new code.
- Modes: Eco (1) → Tour (2) → Standard (3) → Sport (4).
- Regenerative braking ON/OFF toggle is the right-bar slide switch.
- Reverse: in N, hold R button + roll throttle (walk speed).
Tip: If the bike sleeps for more than 8 days, tap any mode button to awaken the BMS, then use NFC tag or key start.
13. Final Bolt Check
Paint-mark or re-torque every critical fastener: axle nuts, triple clamps, shock/linkage, motor mounts, rotor bolts, peg pins. Loose now beats lost on-trail.
Ready to Ride
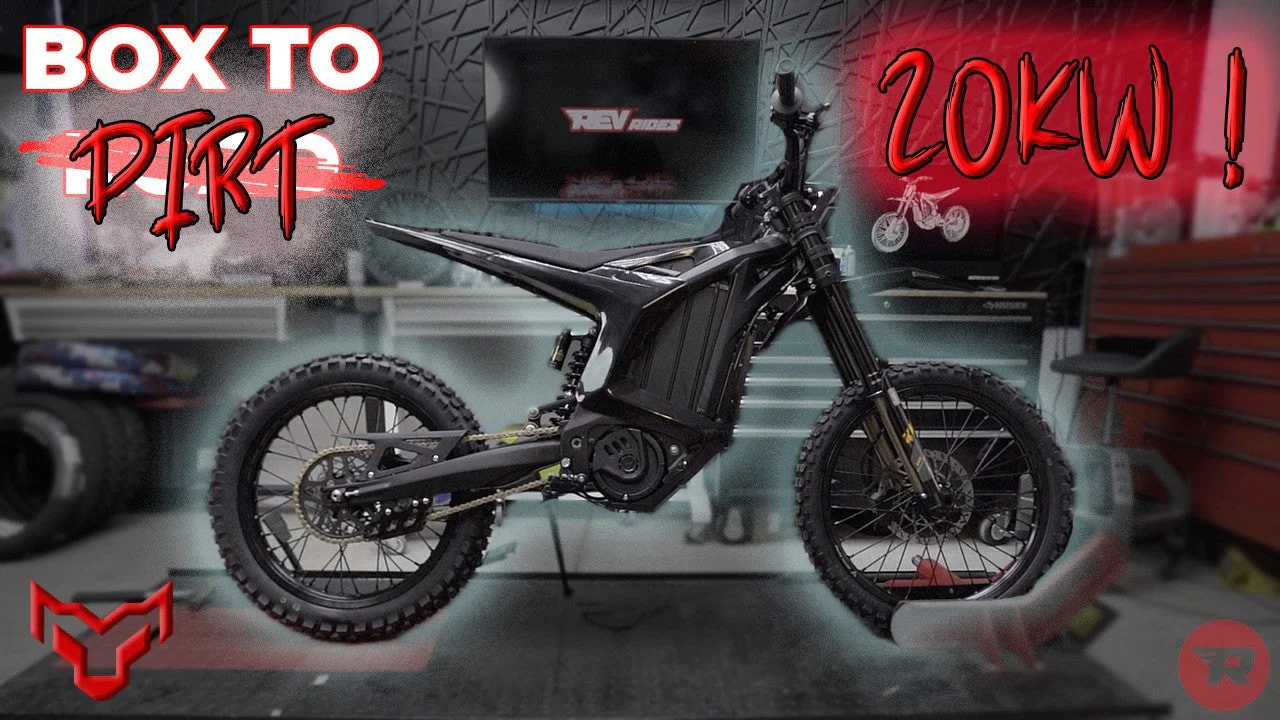
With the battery topped off and all bolts checked, your Arctic Leopard XE Pro S is prepped for that first 20 kW blast. Have fun, ride safe, and gear up before riding!
